2023. 11. 11. 22:18ㆍ에이치케이뉴플로우/Github


이 포스팅은 맥북 환경 기준으로 작성하였습니다.
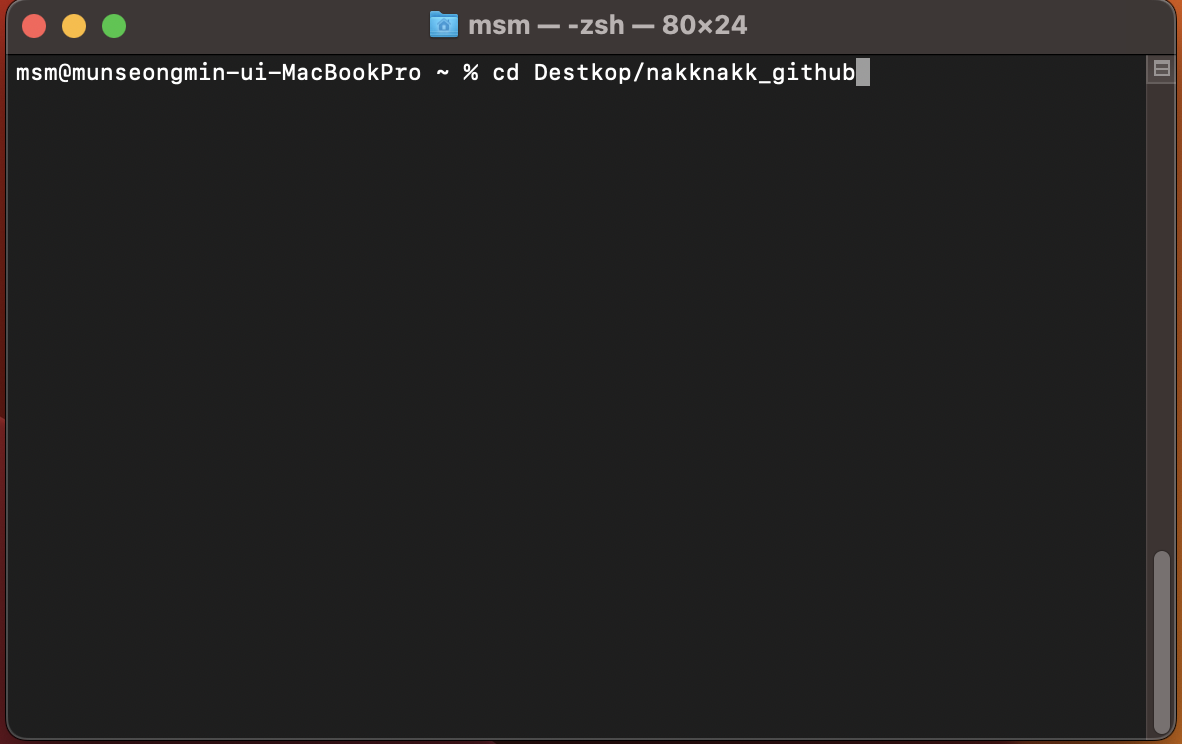
우선 깃을 연결하려면 폴더를 만들어서 터미널로 경로로 이동하면 된다.
(제가 생성한 폴더는 nakknakk_github라서 "cd Desktop/nakknakk_github" 명령어로 접근했습니다.)
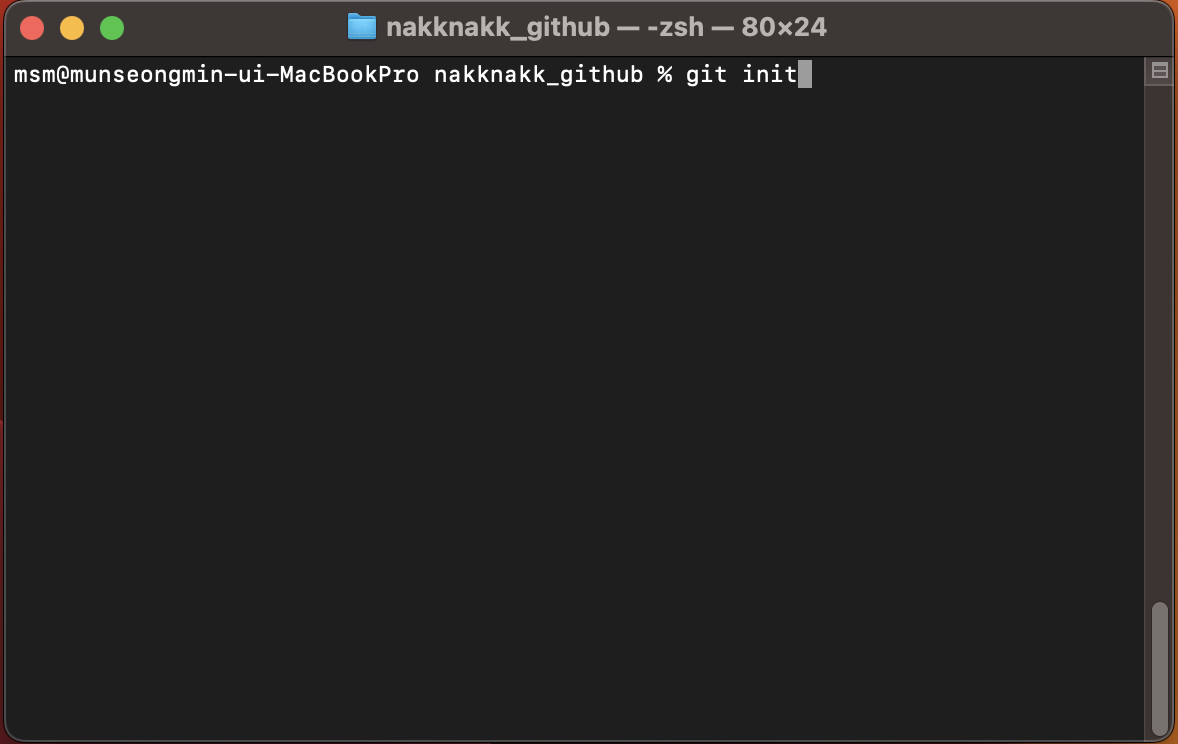
cd 명령어로 폴더로 이동했다면 git init 명령어를 입력하면 .git 폴더가 생성되고, 초기 세팅이 완료됩니다.
GitHub: Let’s build from here
GitHub is where over 100 million developers shape the future of software, together. Contribute to the open source community, manage your Git repositories, review code like a pro, track bugs and fea...
github.com
깃허브 홈페이지에 접속을 해서 New 버튼을 누르면 Repository를 만들 수 있습니다.
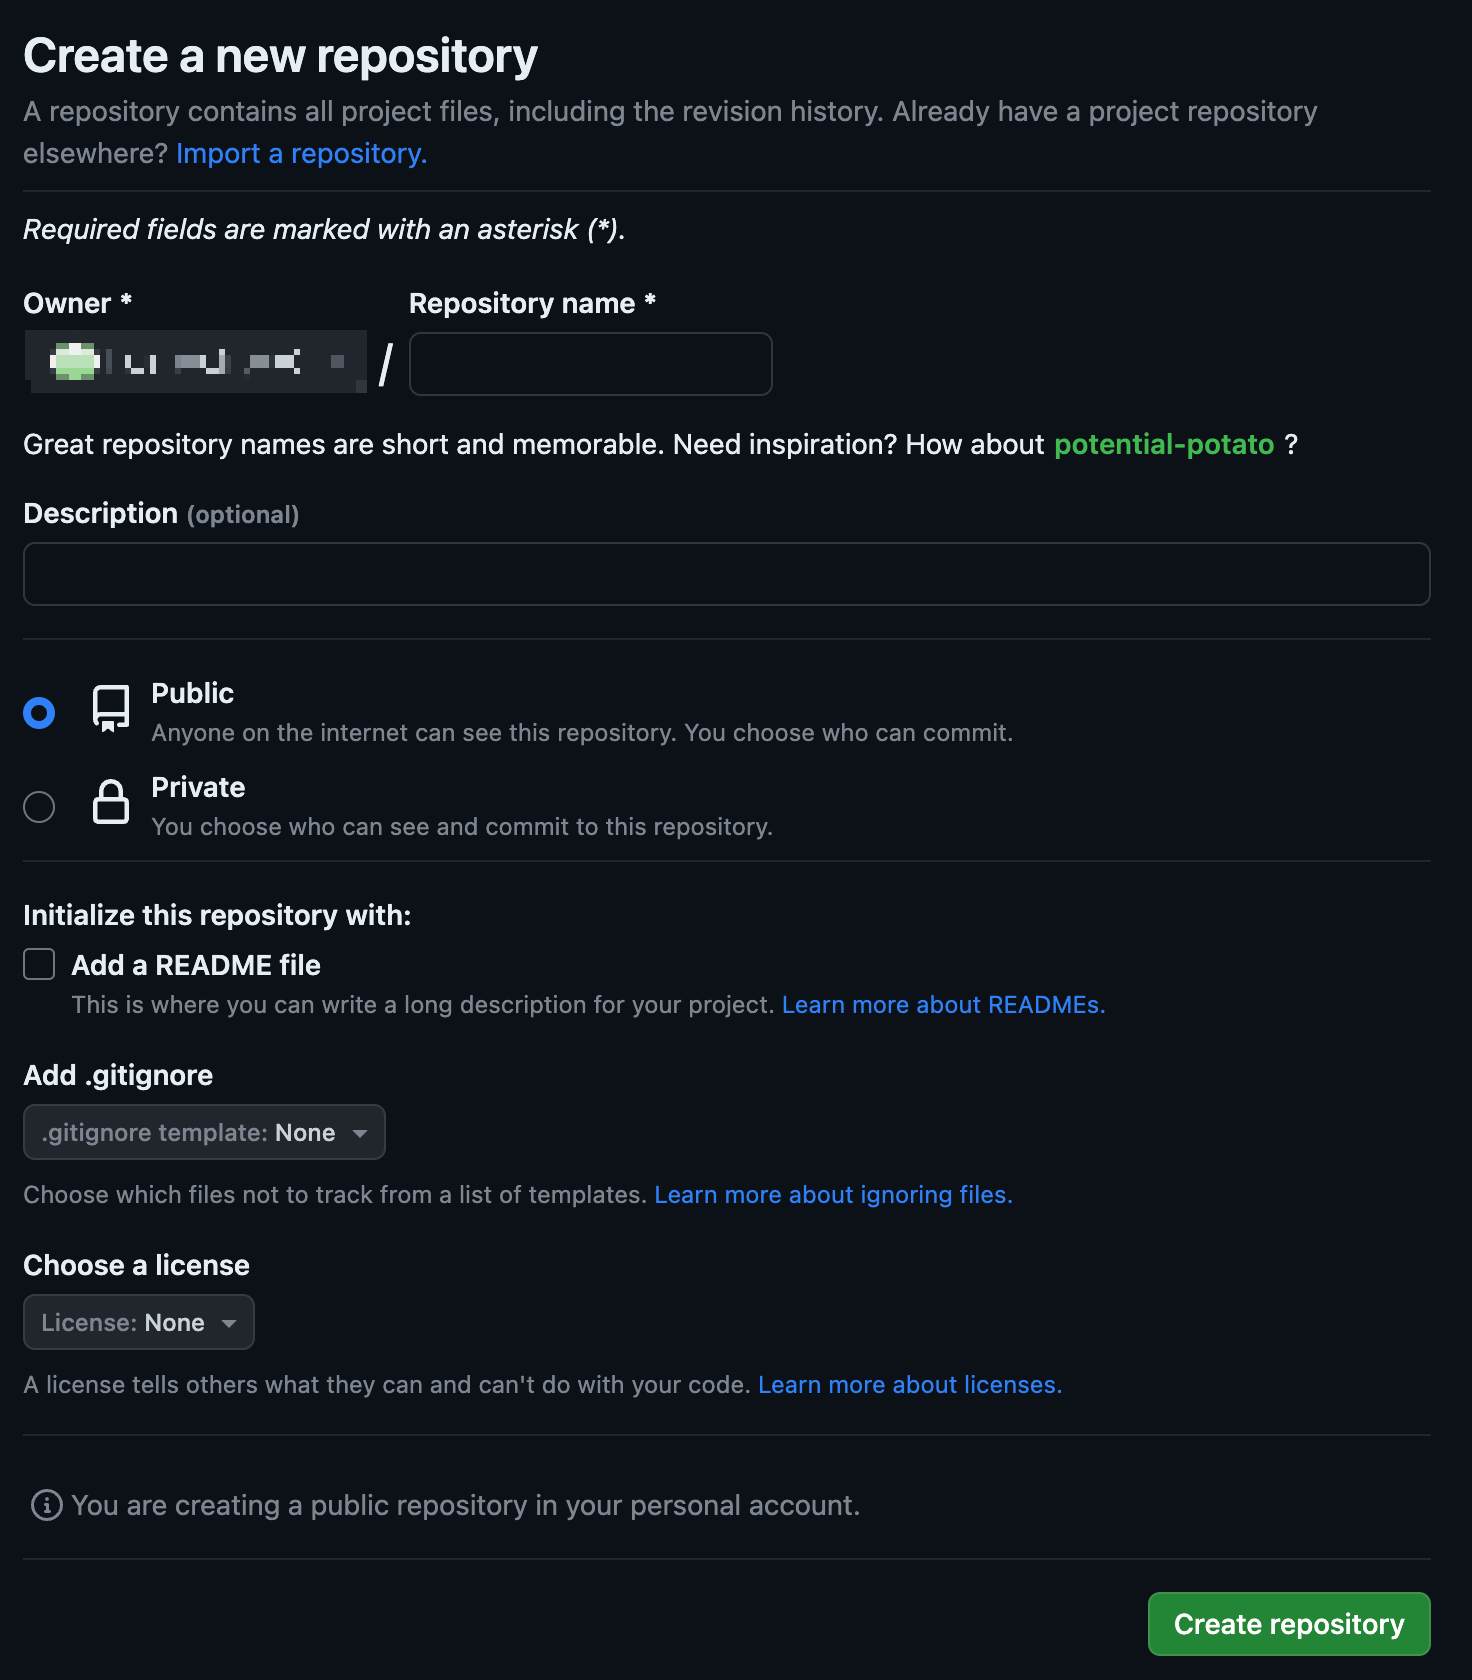
Repository name을 입력하고, Create repository 버튼을 클릭하면 레포지토리가 생성됩니다.
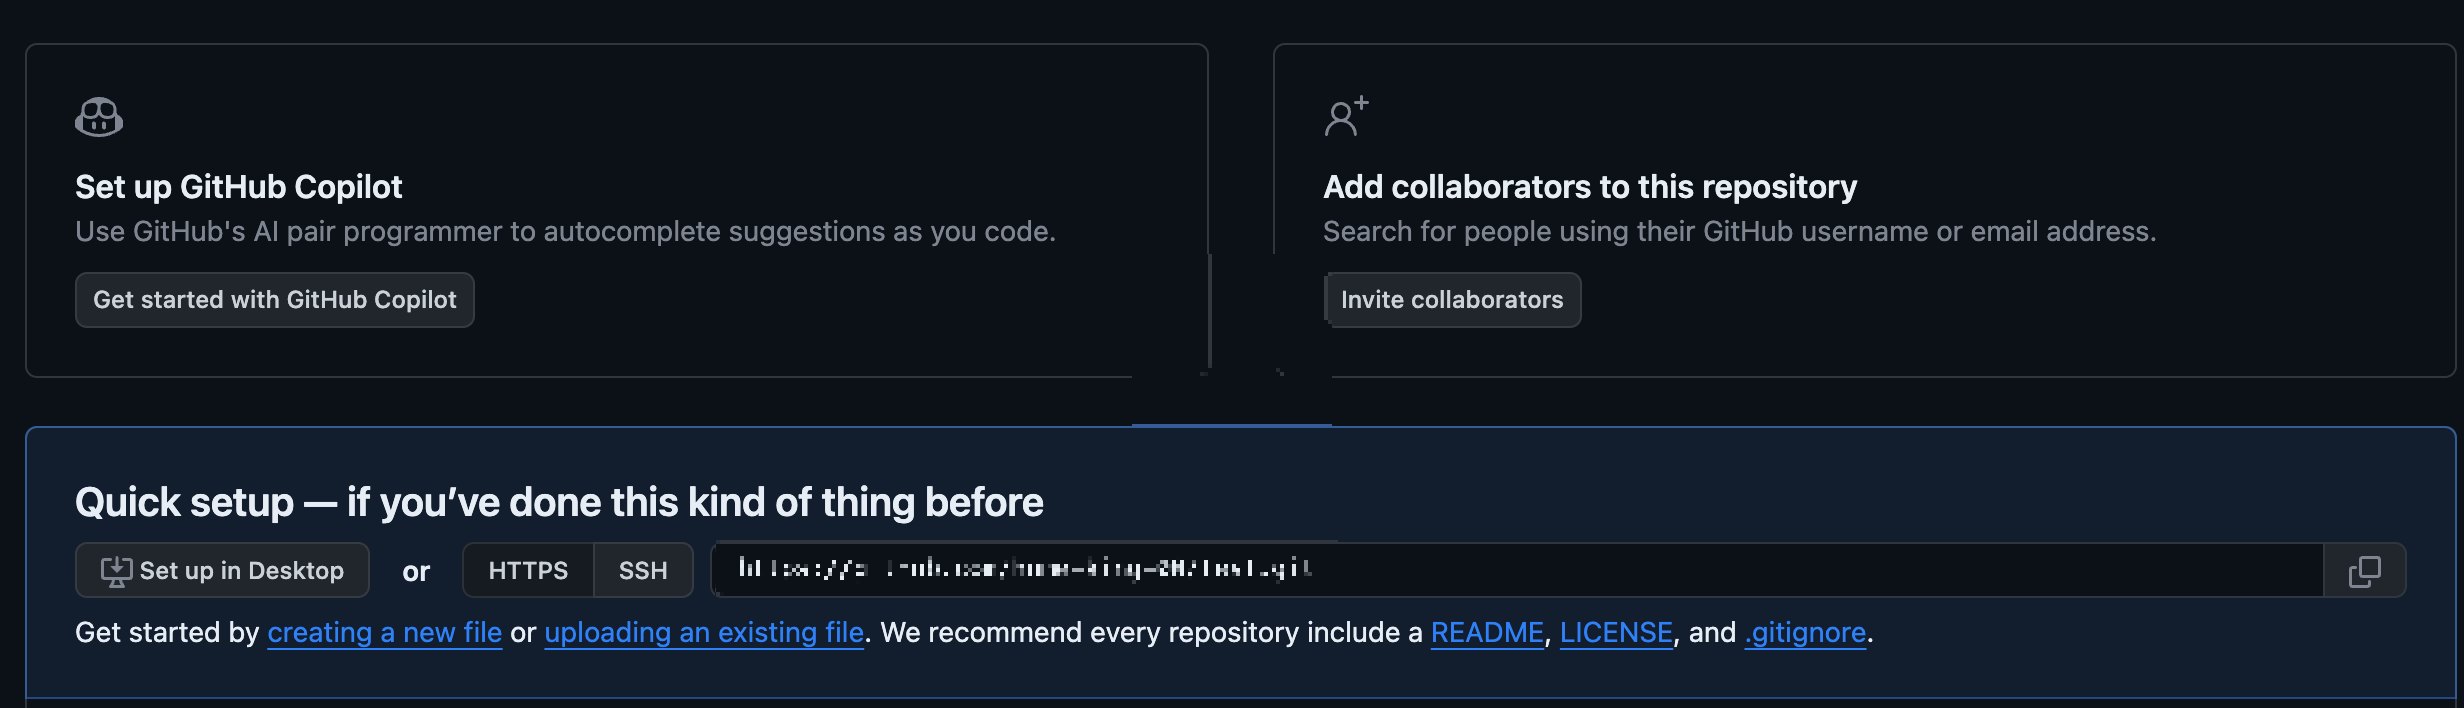
생성한 레포지토리에 들어가면 이 와 같은 화면이 나오는데, 위 사진에서 하단 보면 Quick setup 부분이라고 있다.
HTTPS로 선택되어 있는데 옆에 주소를 복사해서 원격저장소에 연결을 해주면 된다.
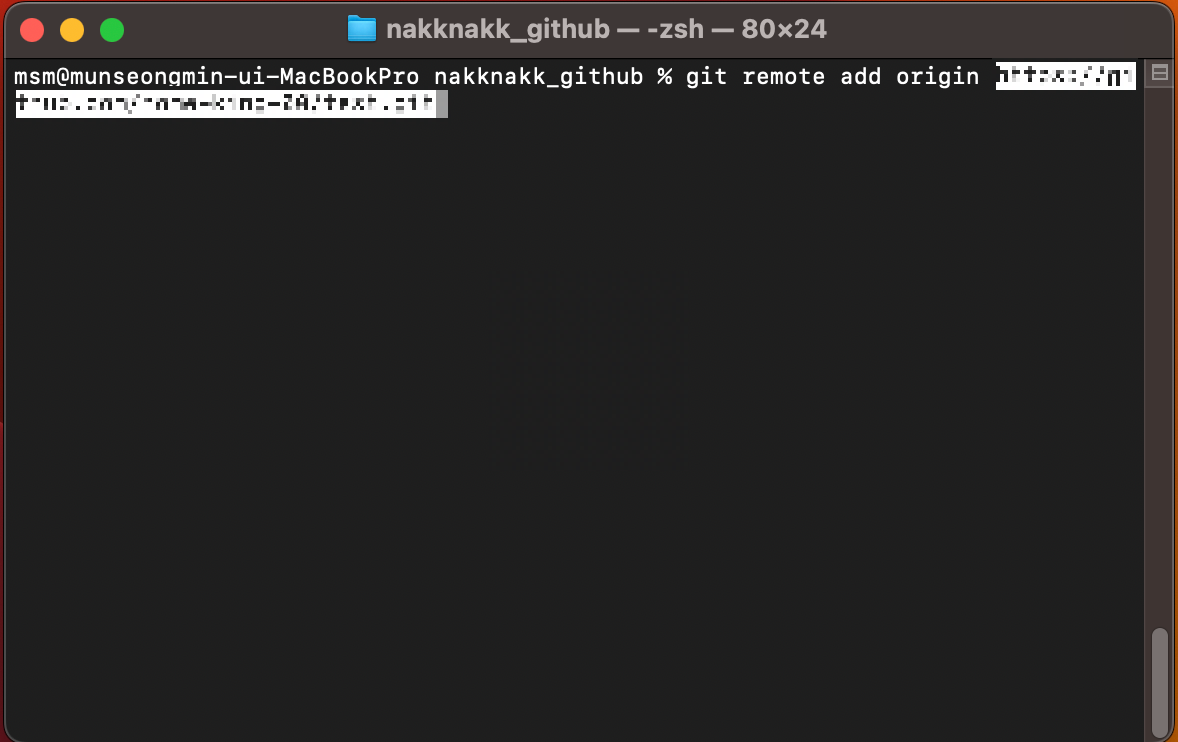
git remote add origin [붙여 넣기]
위와 같이 명령어를 입력하면 원격저장소와 연결이 된다.
이제 연결을 했으니 원격저장소에 파일을 push 해보려고 한다.
Visual Studio Code를 실행해서 README.md 파일을 생성하고 올려보도록 하겠습니다.
Visual Studio Code - Code Editing. Redefined
Visual Studio Code is a code editor redefined and optimized for building and debugging modern web and cloud applications. Visual Studio Code is free and available on your favorite platform - Linux, macOS, and Windows.
code.visualstudio.com
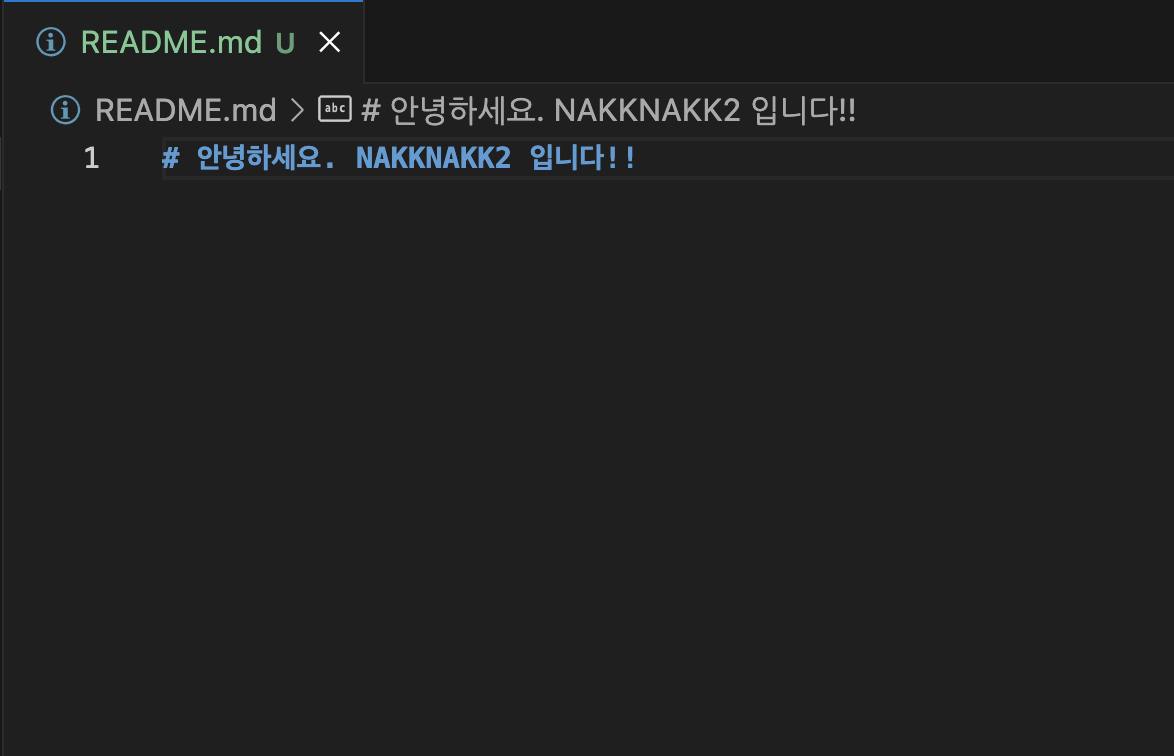
README.md 파일을 생성하고, 해당 파일을 git add 하여 변경 내용을 추가하도록 하겠습니다.
(git add를 해도 commit 하기 전까지는 히스토리는 남지 않습니다.)
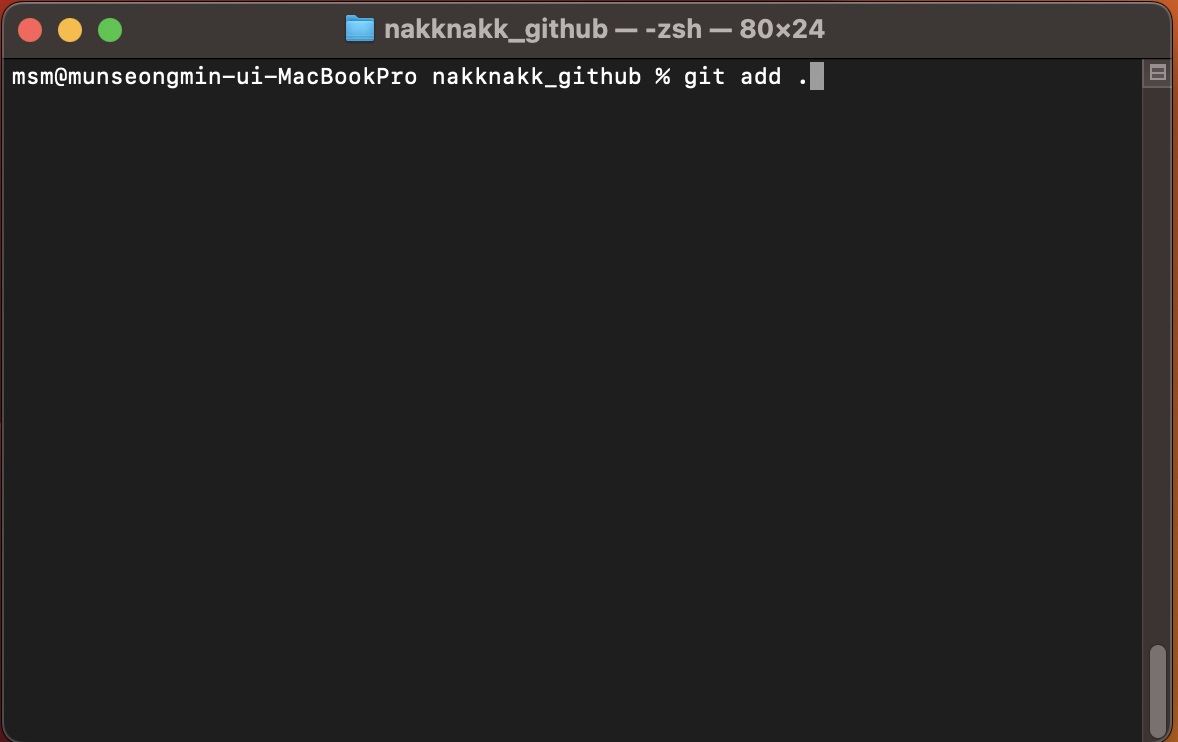
git add . 명령어를 작성하면 현재 디렉토리 이하에 있는 변경된 파일, 폴더 목록들을 스테이징 목록에 추가합니다.
그러면 현재 저는 nakknakk_github 폴더에 있으니까 그 아래에 있는 파일, 폴더 목록들을 추가할 수 있겠죠?
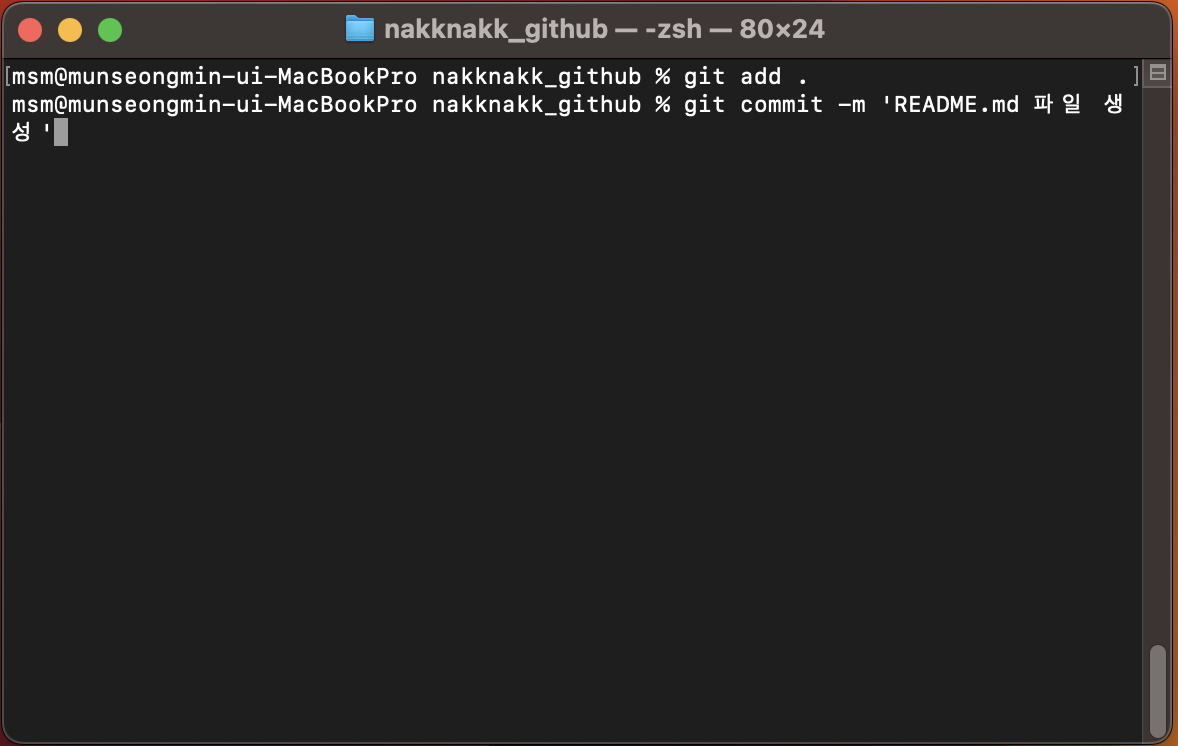
그다음 git commit 명령어로 git add . 명령어로 추가한 파일, 폴더 목록들을 push 하기 전에 기록을 남겨줍니다.
뒤에 -m 은 옵션이 추가가 된 건데 뒤에 따옴표 안에 커밋 메시지를 남겨주면 됩니다.
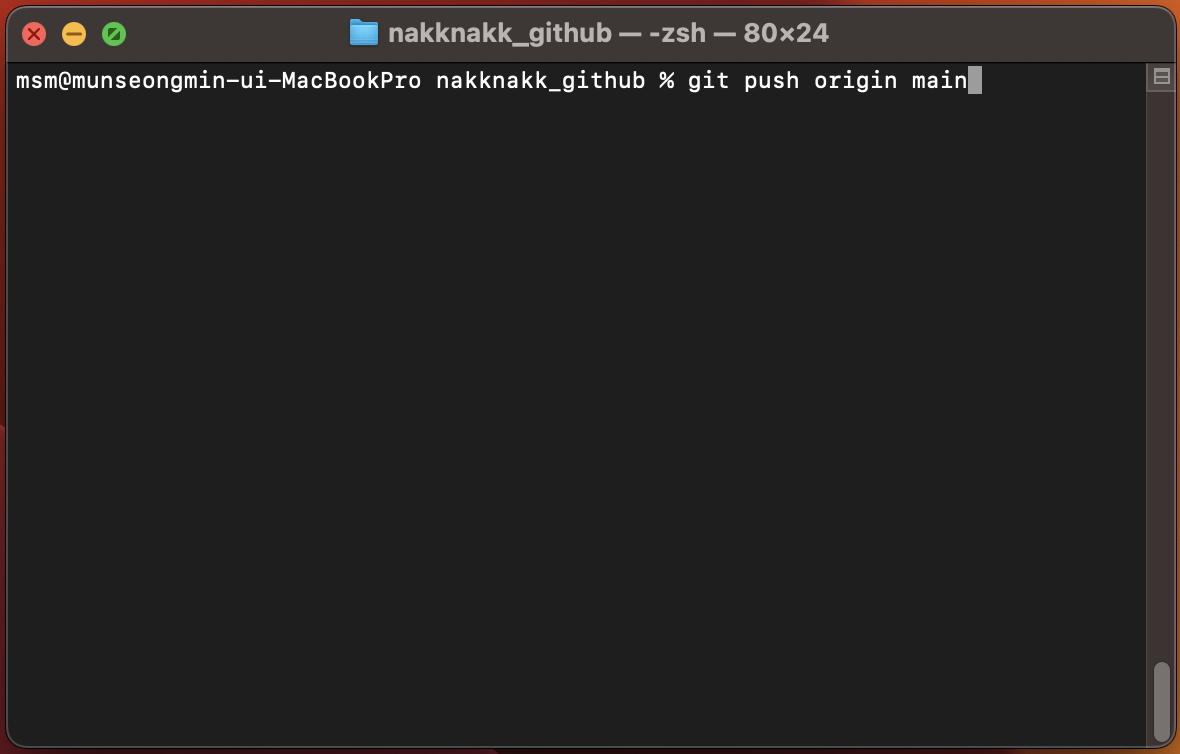
git push origin main 명령어를 실행해서 원격저장소로 변경 내용을 보내줍니다.
origin 은 원격저장소 이름이고, main은 브랜치명입니다.
위에 단계를 모두 수행하였다면 레포지토리 페이지로 이동해서 확인해 보면 파일이 정상적으로 올라와져 있는 걸 볼 수 있습니다.